What could clothing tags, ribbon and paper all have in common? Well, you're about to find out. If you guessed book marks you get an A on your test today. Hi, it's Andrea, you are in for an exciting time with May Arts, Little Yellow Bicycle, and Me. Let's get started.

Can I just tell you how absolutely gorgeous these ribbons are from May Arts? Unfortunately I'm not a professional photographer so these pictures do not give the ribbon proper justice. When I got the ribbon in the mail, opening the box was like walking into a candy store. Mmmm, Mmmm! All of them are so fun, but I think my favorite of these would have to be MN41. Orange, pink, turquoise and yellow checks combined made my heart skip a beat.

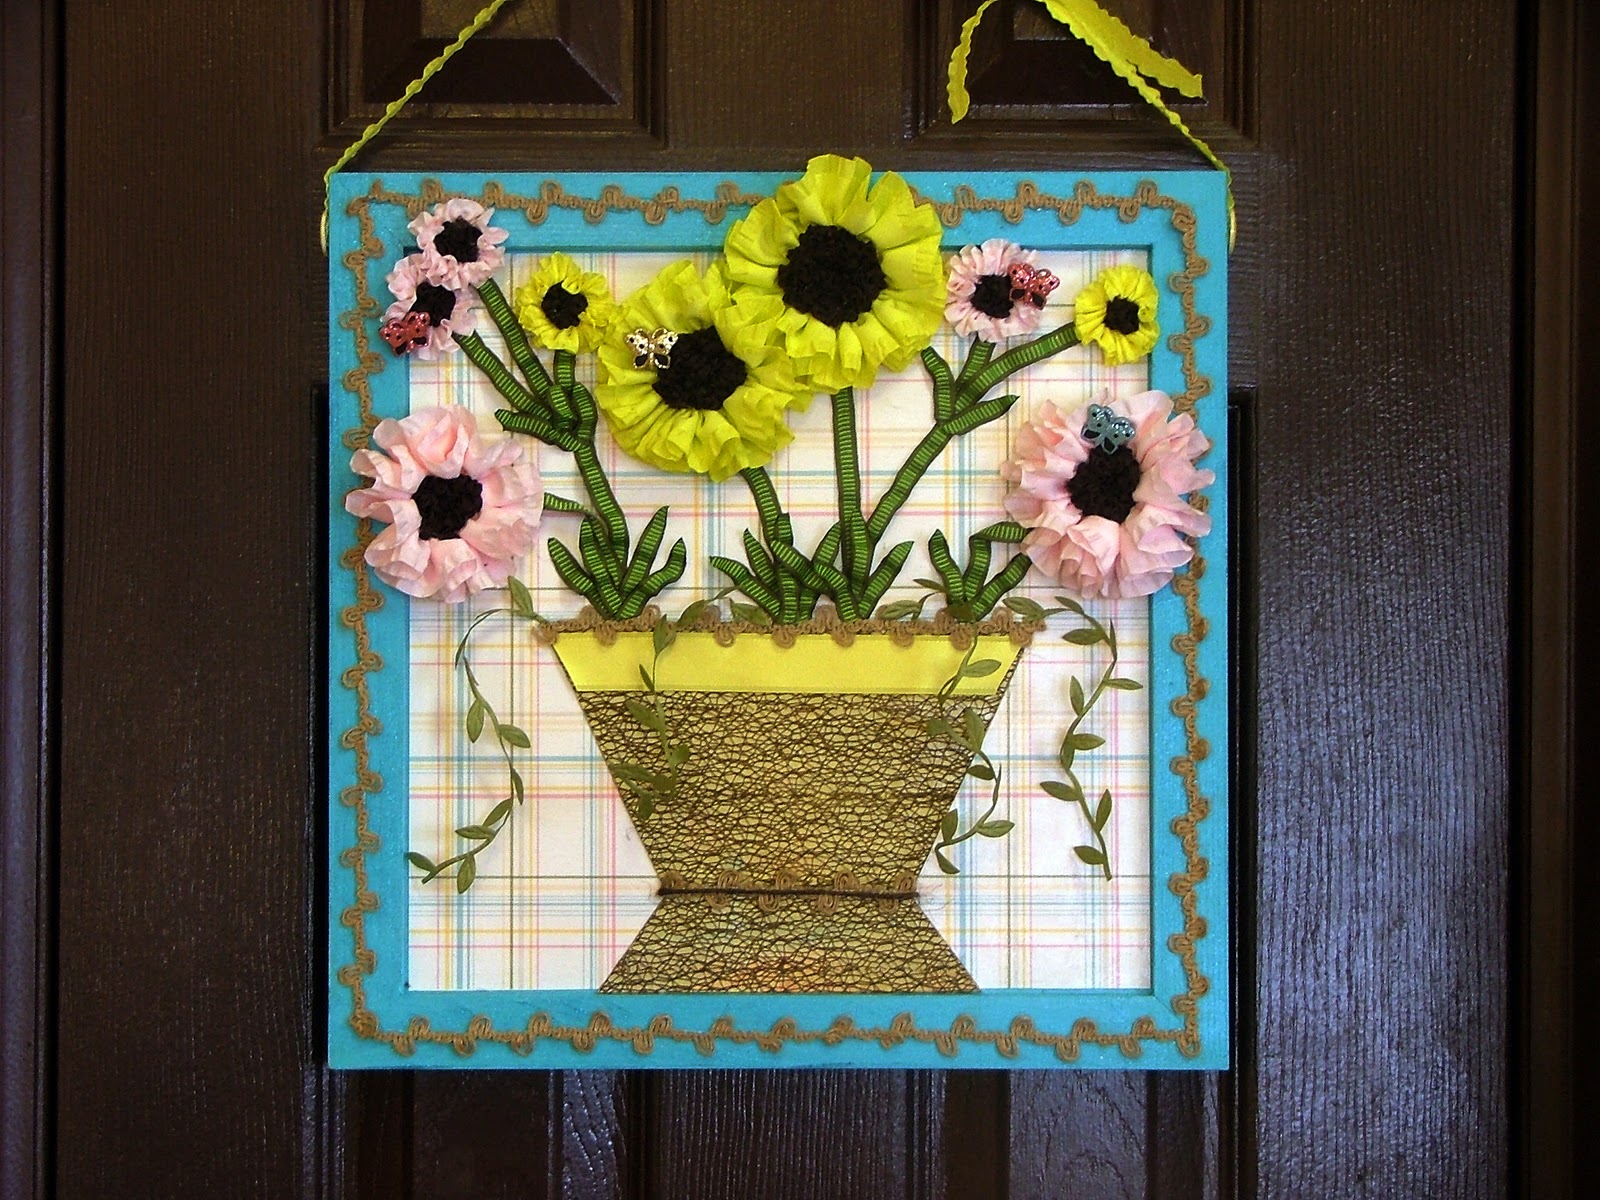
Yes, old clothing tags make great book marks! Not only do you get great book marks by embellishing them, you are going green and being Eco-friendly. (you can also use cereal box etc.) With the help of The Little Yellow Bicycle's Elizabeth Park Collection, EP102-Bloom Bands/ Lattice paper, EP185 Epoxy stickers, the 6x6 decorative edge paper and luscious May Arts ribbon the book marks turned out stupendously extravagant.

The directions for are very simple.
Choose which adhesive best suits you,
cut your paper and embellishments,
apply it to the clothing tag,
place your paper and embellishments,
use your favorite hole punch,
laminate with clear self laminate,
re-punch your hole
and tie your ribbons.

Voila!! They can be used by you, given as a gift, great kid friendly project etc. and are easy to make in minutes or keep on hand for that last minute grab. I got playing with the photo shop and loved the picture above, so I thought I'd share it with you.
Here are a few more pictures.........
Here are a few more pictures.........


I had so much fun making the book marks that I grabbed some spare paper and embellishments from our last blog swap week with Bella Blvd. and made a few more.

The ribbons I used were....
KB03,17,27,46
RG28,27,17
387-18-28,66
370-14-46,22,44,28,27
SC46,34,27,05,17,20
360-38-47,17,16
MN41,27,34,04
Go ahead and start saving those tags! Now let's hear those fantastic comments and enjoy your week adventure with May Arts, The Little Yellow Bicycle and some amazingly talented women.
Project made for http://www.mayarts.com/blog/