Friday, April 29, 2011

Ostentatiously Flamboyant!!

What could clothing tags, ribbon and paper all have in common?  Well, you're about to find out. If you guessed book marks you get an A on your test today.   Hi, it's Andrea, you are in for an exciting time with May Arts,  Little Yellow Bicycle, and Me.  Let's get started. 


Can I just tell you how absolutely gorgeous these ribbons are from May Arts?  Unfortunately I'm not a professional photographer so these pictures do not give the ribbon proper justice.  When I got the ribbon in the mail, opening the box was like walking into a candy store.  Mmmm, Mmmm!  All of them are so fun, but I think my favorite of these would have to be MN41. Orange, pink, turquoise and yellow checks combined made my heart skip a beat. 
 Yes, old clothing tags make great book marks!  Not only do you get great book marks by embellishing them, you are going green and being Eco-friendly. (you can also use cereal box etc.)  With the help of The Little Yellow Bicycle's Elizabeth Park Collection, EP102-Bloom Bands/ Lattice paper, EP185 Epoxy stickers, the 6x6 decorative edge paper and luscious May Arts ribbon the book marks turned out stupendously extravagant.
 The directions for are very simple. 
Choose which adhesive best suits you,
cut your paper and embellishments, 
apply it to the clothing tag,
place your paper and embellishments, 
 use your favorite hole punch,
 laminate with clear self laminate,
re-punch your hole
 and tie your ribbons.
Voila!!  They can be used by you, given as a gift, great kid friendly project etc. and are easy to make in minutes or keep on hand for that last minute grab.  I got playing with the photo shop and loved the picture above, so I thought I'd share it with you.
Here are a few more pictures.........


I had so much fun making the book marks that I grabbed some spare paper and embellishments from our last blog swap week with Bella Blvd. and made a few more.
The ribbons I used were....
KB03,17,27,46
RG28,27,17
387-18-28,66
370-14-46,22,44,28,27
SC46,34,27,05,17,20
360-38-47,17,16
MN41,27,34,04

Go ahead and start saving those tags!  Now let's hear those fantastic comments and enjoy your week adventure with May Arts,  The Little Yellow Bicycle and some amazingly talented women.

Project made for http://www.mayarts.com/blog/


Thursday, April 7, 2011

Spring Has Sprung!!

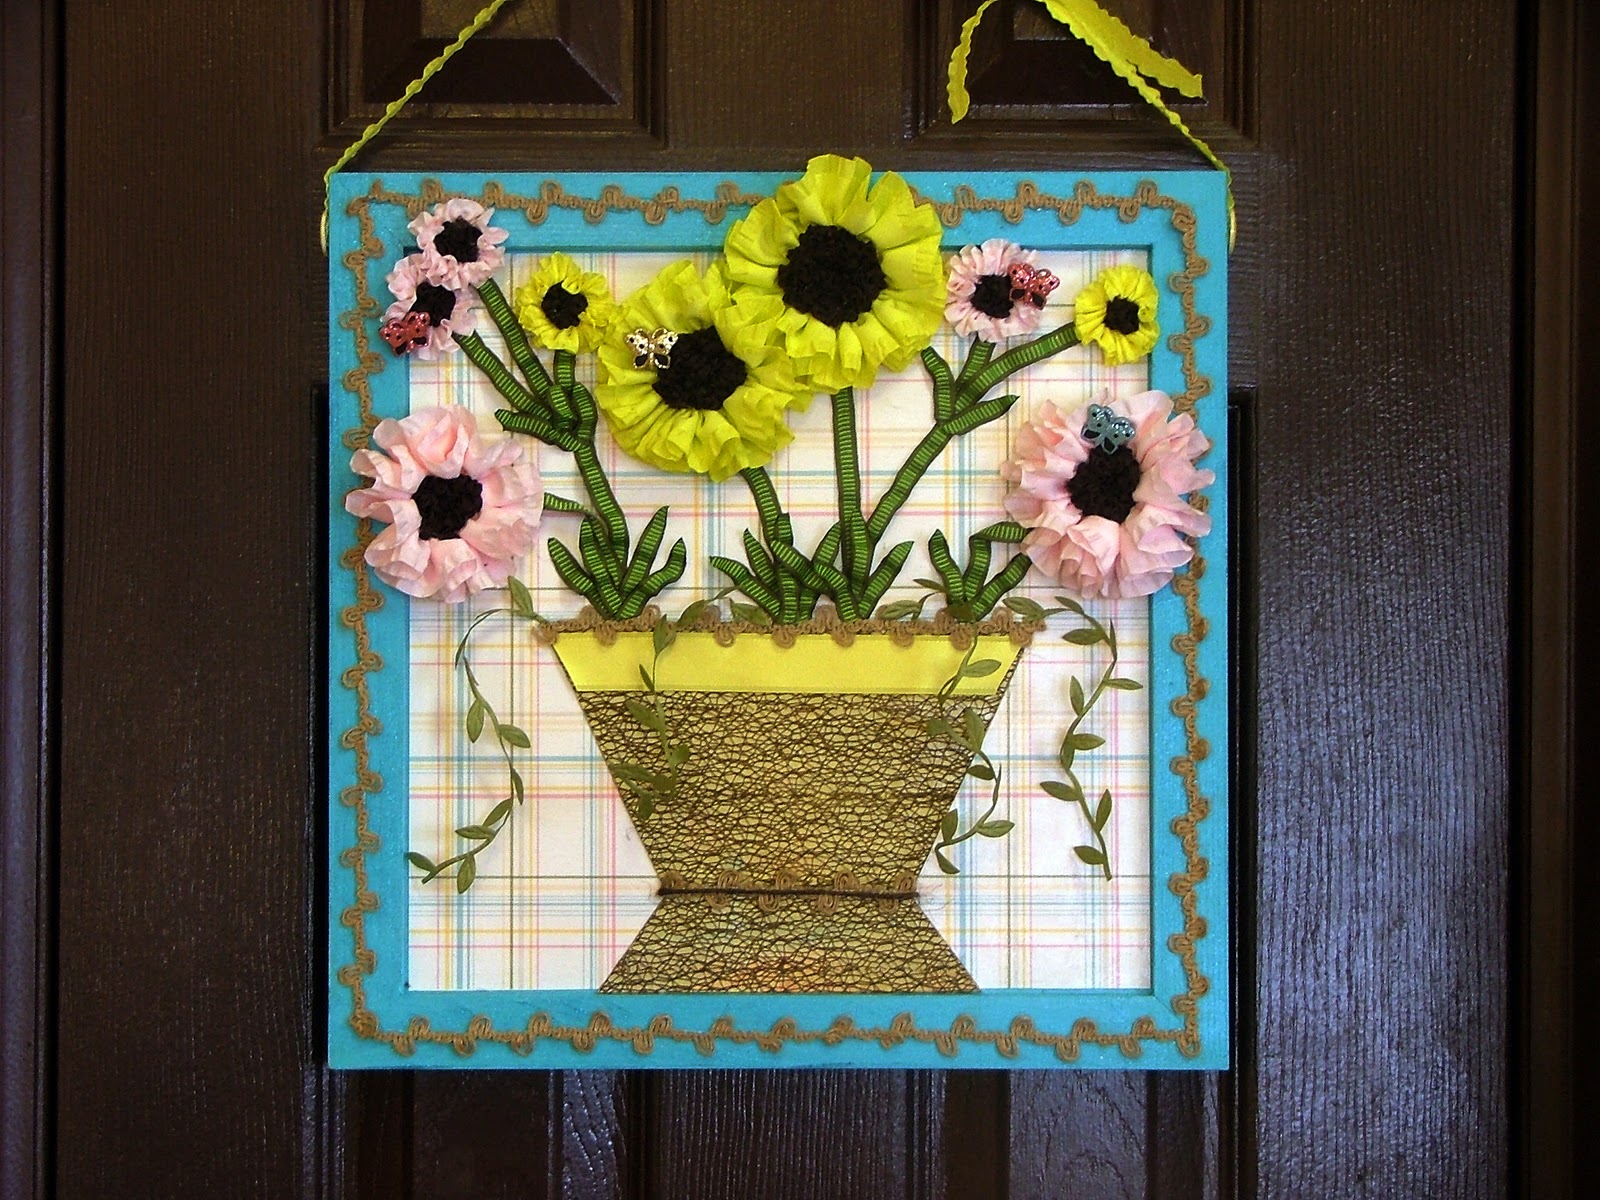
Hi everyone!  I did a blog swap week with May Arts and Bella BLVD.  Check it out.  I had so much fun creating this beautiful spring door hanger.

Here's the details on how to make one for yourself.  I found a 12X12 wood piece that I painted a beautiful turquoise to go with the luscious plaid Bella BLVD paper.

I then used mod-podge to glue the paper to the wood.

For the flower pot, I used a piece of scrapbook paper and drew the design I wanted the flower pot to look like.  I then used a glue runner on the paper and cut some EM32 ribbon to lay over the top.  I have loved using this line of ribbon for many different things and it made my basket look awesome! 

I also glued this to some old cereal box card board and then cut it out following the design I had drawn on the scrapbook paper.
Glue this to your wood and mod-podge over the pot and top of the paper.

 For the exquisite flowers all you need to do is take a needle and thread, weave it through the bottom of the ribbon and pull the thread to make  it bunch.  For the big flowers I used 30-36" of ribbon.  I absolutely loved the ruffle faux suede ribbon for this.  The flowers look gorgeous and the ribbon was perfect to work with.
NV27 1.5", and 5/8", NV17 1.5", and 5/8"
 Believe it or not, for the flower centers I used a ruffled hair scrunchy that I cut apart.  For the stems and leaves I used ribbon 333-16.  I cut it the proper length and then used a lighter to melt the edges a bit to give them a more natural look. 

I added a few more ribbons and embellishments and voila we have a beautiful spring door hanger bright and cheerful.  You will love using this ribbon to make some beautiful spring flowers of your own.

The other ribbons and supplies I used were HN27, QW11, BY16, SP33
Hot glue gun, scissors, and acrylic paint.

Thanks for joining me today!
Project made for http://www.mayarts.com/blog/

Wednesday, March 23, 2011

Roses and Daisies

Hello my fellow dexterous crafters!  Are you longing for Spring to get here sooner than later?  I started craving spring as I put some of these flowers together with some gorgeous May Arts Ribbon.
Did I say gorgeous?  Yep, you got it, gorgeous!


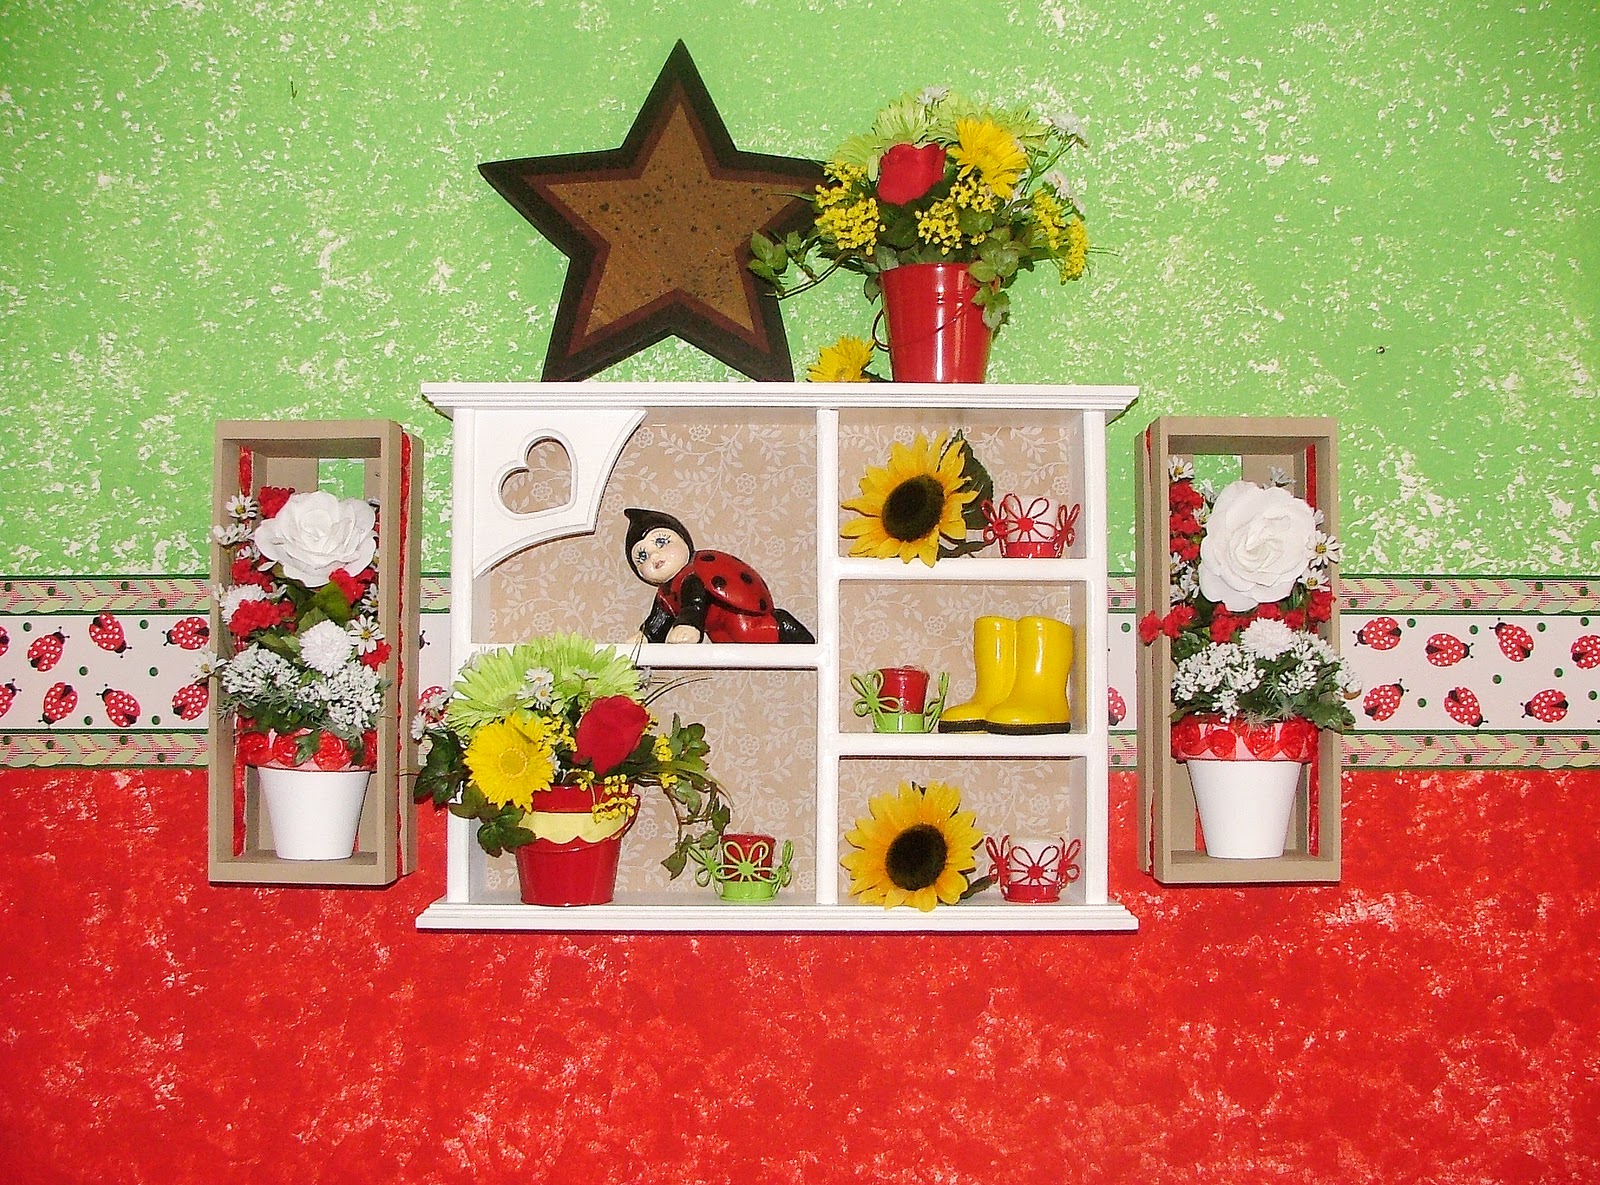
You all know I love baskets, especially when I get them for a good deal.  Well,  I fell in love with this CD basket and  I have used them for everything but CD's.  Wink, wink!  It just so happens that they were on sale one day for $1.50 instead of $5.99. Fantabulous if you ask me.  Needless to say,  I picked up quite a few of them.  Today we'll be making some beautiful wall pieces with them. 
 I painted the baskets a beautiful chestnut color and my terra cotta pots white.

I picked a bunch of pretty artificial flowers to put in my pots.  If you haven't done arrangements before, a good friend of mine gave me a few tips.  Go on, give it a try.  You'll be pleased with what you can do.

Tip 1:  Decide what you want the focal point to be
Tip 2:  Everything else you choose to go with your focal point should not take away from you main piece
Tip 3:  Use odd numbers of things ( I thought this was a little strange, but it really works.)


Make sure you have a great pair of artificial flower snippers.  I promise the price you pay will be well worth it in the long run.  You can glue your stirofoam in the pot or just make sure it has a snug fit. 
Decide what lengths to cut each piece. The red flowers in the picture above have 3 stems coming out of one.  I cut them apart so I could use them individually instead of using them as a group.


Pushing up the foliage is another great tip when using artificial flowers.

Once the flowers and foliage are cut start sticking them in and arranging them.  You may want to bend a few or pull them out and stick them in somewhere else etc.  Don't get to picky, and stand back to take a look at if from a distance.

When I saw this ribbon on the May Arts website, I knew I had to have some.
353-15-14
I didn't know at the time what I was going to use it for, but I'm entitled to that since I'm a girl right?
It's kind of like buying a new outfit to match the flamboyant heels you knew you just couldn't live with out.

Glue the ribbon around your pot and around your basket.
Ta-dah!  There you have it.  This is the wall of my little girls room.  Bright and beautiful.  The rosette ribbon gives the baskets the perfect finishing touch.

Isn't their ribbon simply exquisite?  Yes, it is!  I just received some new ribbons and I can't tell you how excited I am for my next project. Tickled pink to be exact.

Thanks for joining me today!! 
Project made for http://www.mayarts.com/blog/

Friday, February 25, 2011

Barn Star Turned Vintage?

Is it really possible to make a barn star look vintage? Join me in finding out just exactly how it's done, with the help of exhilarating Graphic 45 paper, and gorgeous May Arts ribbon.

Supplies needed: Graphic 45 paper
May Arts ribbon, 379-15-25 burgundy pleats
379-15-10 black pleats
3/8" SX10-black
3/8" SX25-burgundy
Barn stars, modge podge, acrylic paint, paint brushes, scissors, X-Acto knife, hot glue gun, ruler, and pencil.

First measure the edges of your star point.  You will need to compensate some extra on the measurements because it is raised in the center.  If you take a thin piece of scrap paper or computer paper you can press it over the top of one of the points and fold underneath to give you a better idea how much extra you will need to measure. 
Second make your self a pattern and trace it on the back of the paper you will be using.
The paper I used from Graphic 45 was from their Renaissance Faire Collection.
As you see in the above picture I chose to cut out my shapes from the corners.  The pattern on this paper is vertical-horizontal, so by using the corners you will have a more uniform paper look as you glue it to the star.
Third, brush modge podge all over one star point and place you paper on pressing firmly, but not so firm you push out all the modge podge.  Repeat for the other 4 corners and let dry.

 
Fourth, if your paper over lapped the edges you can using an X-Acto knife to trim once the modge podge is completely dry. 
Fifth, I painted some acrylic paint on the edges of my ribbon to give it a more vintage look to match the paper.  Use one of those cheap brushes where all the bristles are not uniform and there's space between bristles so that as you paint it on the ribbon it kind of streaks it instead of painting it solid.  This worn out brush comes in handy for washed looks and overlays.

Sixth, glue your ribbon with half underneath the star and half showing following the thread seam in the middle.  To make your corners simple fold and glue into a point.  I cut the ribbon the length of one star point so each of them can be glued on individually with the only fold at the actual point.
Last, I lined the edges with the 3/8" ribbons.  I cut the ribbon the length of the edge and glued just the middle of the ribbon.  Once all of them were glued I went back and cut the points and glued down.  It made it a lot easier to match the angles when glued and laying on top of each other.  I left the 3/8" ribbons their solid true color to give it the contrast.


I absolutely love how they turned out.  I've always like the stars, but not the rustic look although I do have rooms in my house that are decorated very rustic.  I think this gave the star the nice twist I was looking for.

Thank you May Arts and Graphic 45 for helping me to turn a barn star vintage.  I hope you enjoyed your visit today and will stop by frequently!

See you again soon!!
Project made for http://www.mayarts.com/blog/

Tuesday, February 8, 2011

Fast and Fabulous!!

Hi Fans!!  Today I have a fast and fabulous project using some lovely May Arts Ribbon, and fantastic Glue Arts adhesive. 

Supplies include: art canvas sizes 5x7 and 9x12, craft paint, paint brush, flowers, brads, pinking shears, fabric of your choice, embellishments, hot glue and gun.

May Arts Ribbon: 372-5-17,1.5"
EN09 1.5" and 5/8"
ME17 3/8"
Glue Arts, glue glider pro with high tac adhesive dots.
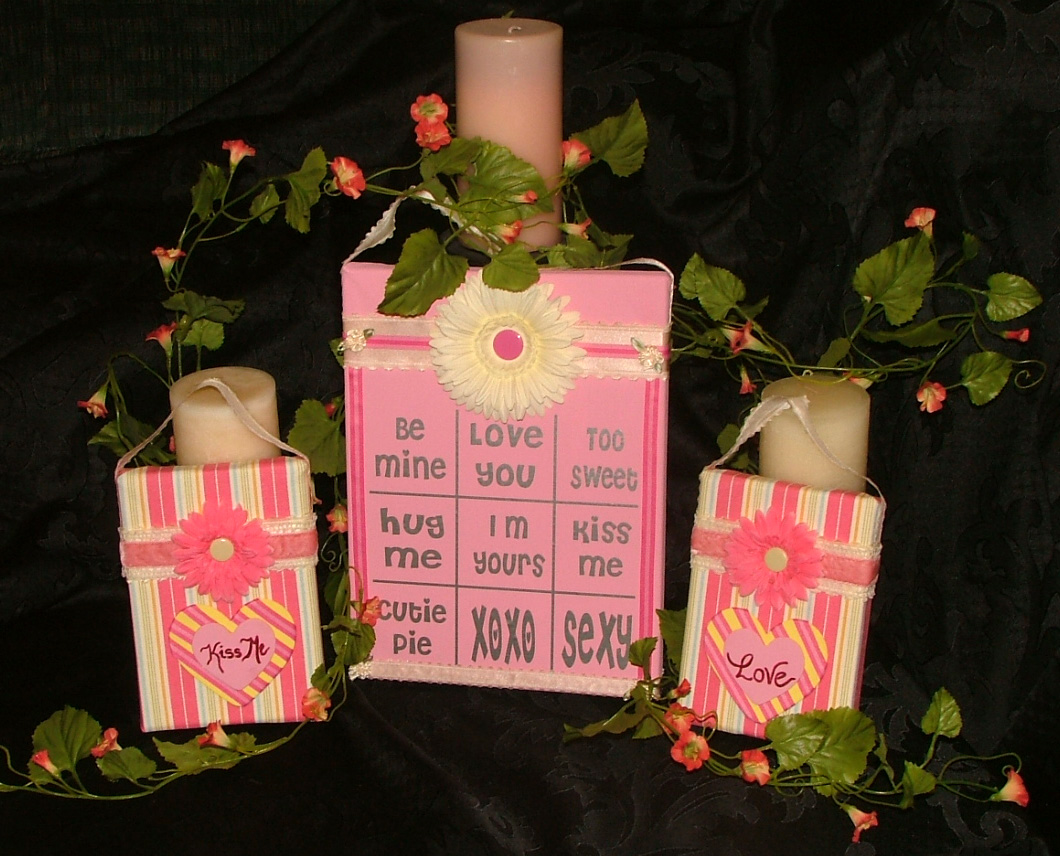
First I painted the biggest art canvas a light shade of pink.  I also painted 4 hearts, two different sizes in yellow and pink.  While these were drying I cut the fabric to fit the smaller art canvas using pinking shears and ironed out the wrinkles.
At this point take your glue glider pro and put adhesive all over the front and two longest sides of the canvas.  Place your material on and press firmly. 
Turn canvas over and put adhesive on the back and press your material down.

The two shortest sides will be folded much like gift wrapping. Put adhesive on the top and fold in fabric. 
 Put adhesive on the back and fold down tabs. 
 Last put adhesive on the top again and back and fold down top flap.

Repeat for the other side and the back should look something like this.

I decided to add a little more flair to my hearts by adding this fun reversible ribbon, ME17 3/8".
Simply put adhesive on the back and press firmly.
Now turn the heart over and do the same to the edges and press down.


I chose to hot glue the hearts on since the back of the biggest heart was not flat anymore. 
Add adhesive to ribbons and embellishments and place as desired.


Fast and fabulous!!  It doesn't have to be a Valentine theme to do this just let your imagination run wild. I love using art canvas for all sorts of projects.   Thanks for joining me today!!

Project made for http://www.mayarts.com/blog/


Friday, February 4, 2011

"Music Box" Solution

Hi everyone!
I have a fast and simple project for you today, that turned out darling if I do say so myself.  Another hot spot in my house is the piano.  I have a piano in my bedroom where I keep all my books, but I've been teaching my children to play the piano, and they play other instruments as well so we've had issues with books being scattered and getting damaged since there isn't a bookcase by the piano in our family room.

I decided I needed a box, but of course wanted to dress it up a bit.  I got looking through my left over ribbon and came across this lucious ribbon from May Arts,
365-2-10 black/ivory 2" solid stripes.  Perfect to make it look like staff music.  I was so excited to put this together, and will now share with you the juicy details.

The box is simply a collapsible canvas type, you can find in the office section of the store or by the furniture that has cubby's that you can put these boxes in.
I used some Zips clear adhesive lines (high-tack, hot glue alternative) and lined the back of the ribbon.

This stuff is really sticky so I only uncovered half of the backing and pressed the ribbon firmly to my box, and then removed the other half in order to have it not stick to everything else but the box.
For the black pleated ribbon, 379-15-10 (satin pleats) love this ribbon, I actually put the adhesive right on the box just underneath the seamed edge amd then pressed the ribbon on. 


Next, I took a music stencil, traced and cut out the notes from some black glittered cardstock.  I traced them on the back side.  Make sure you turn your stencil over so when you cut them out your notes will be the right direction for the black side to face out.

I used Crafter's Pick, craft glue on the musice notes to glue them to the ribbon and the box.  It worked great.
I also used some glitter letter stickers attaching them to some ivory cardstock and then glued this to the black pleated ribbon for the finishing touch.
 There you have it, an adorable "Music Box" solution.  Whether or not you have this same problem, I'm sure you can come up with a simple box solution for another hot spot in your home. 
 Hope to see you again soon.
Project made for http://www.mayarts.com/blog/


Thursday, December 16, 2010

Ordinary to Extraordinary

Hello fans, Andrea here.  I'm really excited to join in the fun of our May Arts/Jenni Bowlin blog week.  I have simple project I think you will en-JOY! Wink!

Supplies Needed:
wood block letters, craft paint, paint brushes, mod podge, Jenni Bowlin paper, May Arts Ribbon, scissors, pencil, and hot glue gun.


First, I painted my letters and beautiful hunter green.


Second, I traced my letters on the back of my fabulous Jenni Bowlin paper.


Third, I glued the paper to my letters with mod podge, the gold glitter type which gave it an aged look.
Fourth, I cut and glued May Arts spectacular ribbons 379-15-25 burgundy pleats, AG15 green gold edge,  and G58 around my letters and voila............

from ordinary to extraordinary!!

I absolutely love the way they turned out.  I hope this triggers some inspiration for your Christmas decor.  See you soon!
Project made for http://www.mayarts.com/blog/