Friday, July 22, 2011

A Mothers Keepsake


Hello all!  This project I did for Mother's Day, but it could be used for a birthday or holiday etc.  It took a lot of work but it  turned out beautiful!!
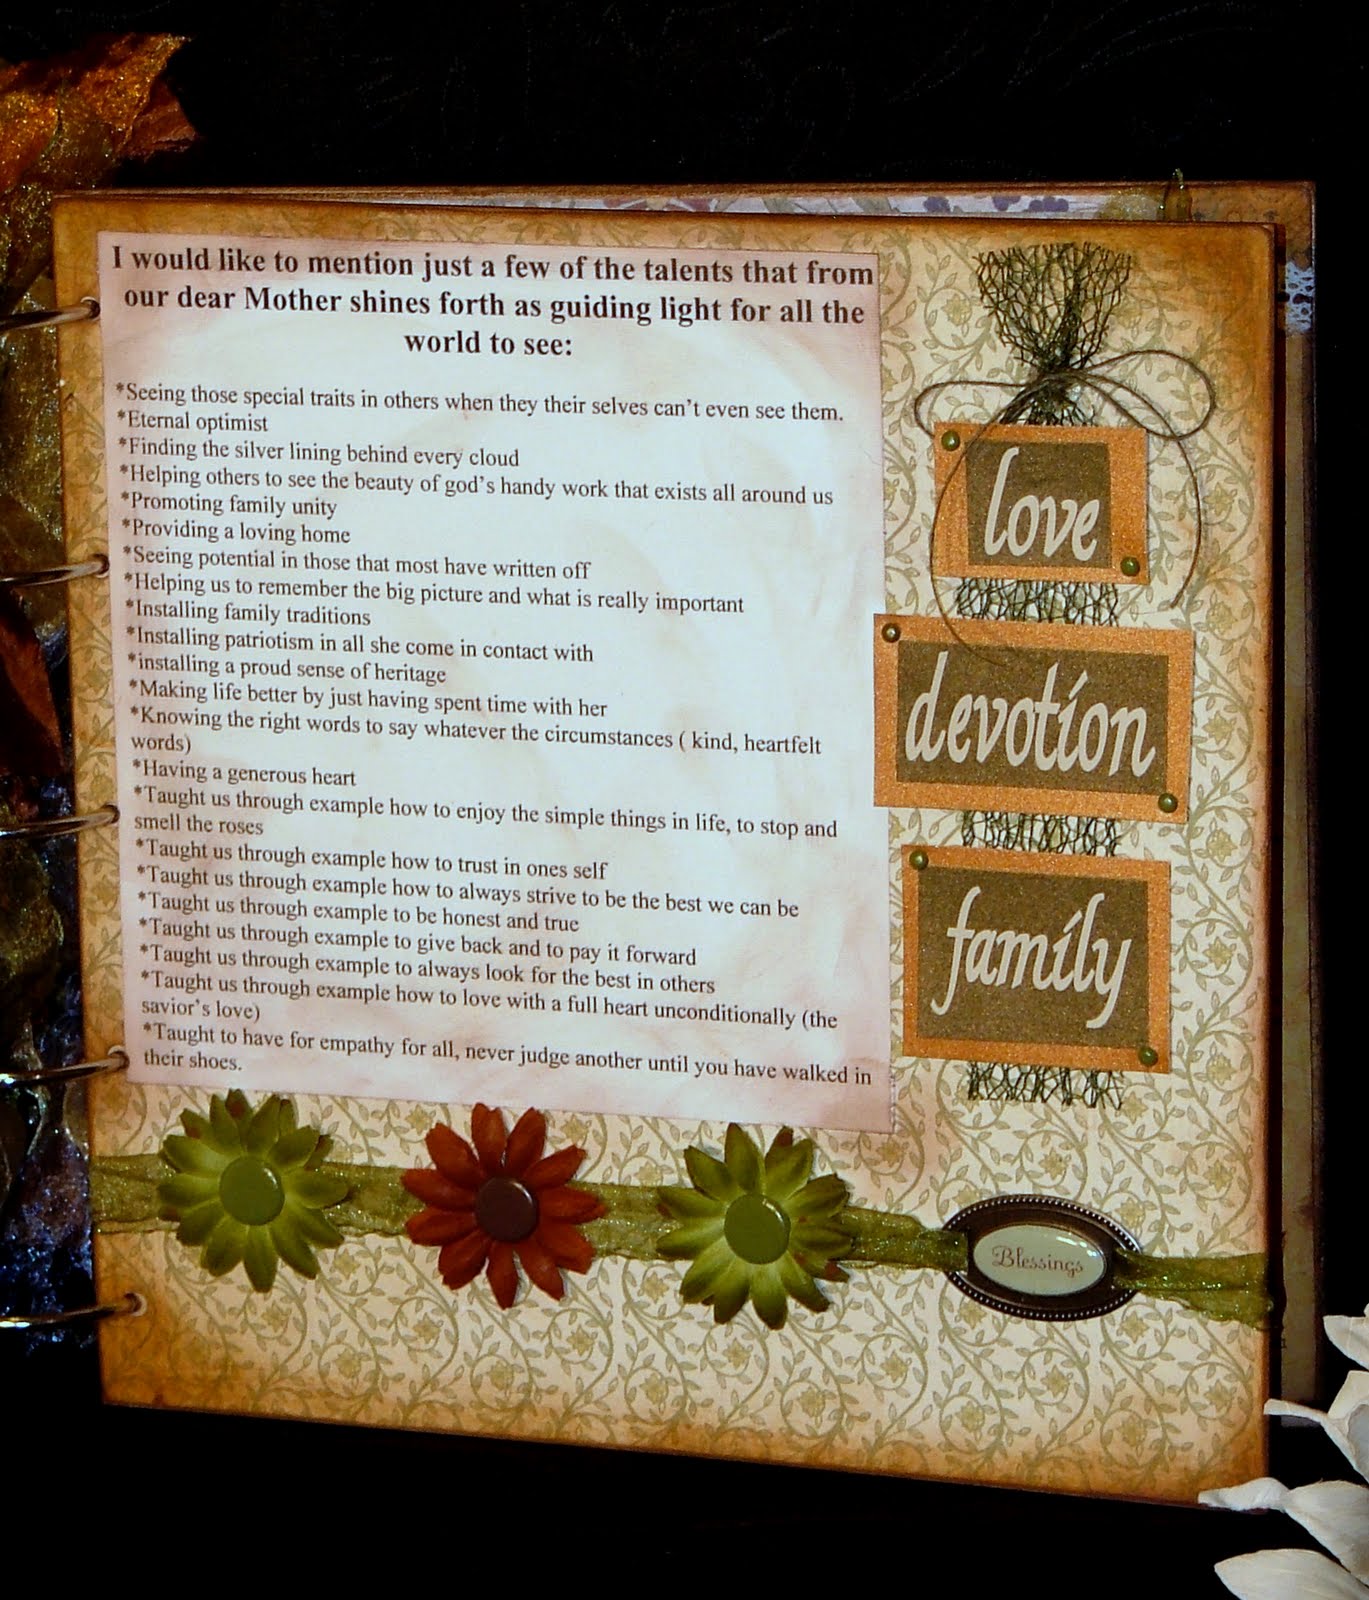
 This year for Mother's Day I felt it was important to create this keepsake book for my mom.  There are 7 children in my family and I asked each one of them to write some of their precious feelings about my mother's talents.
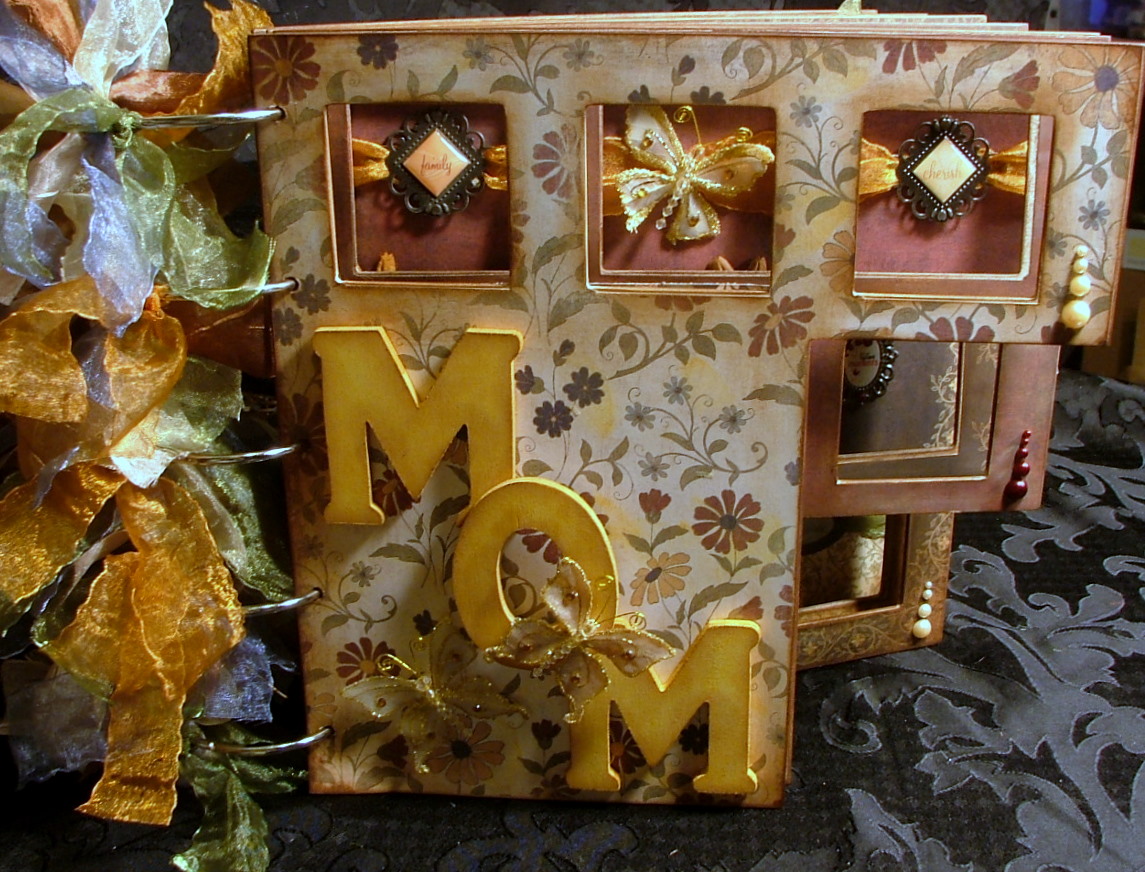
This book is made up of some very thin wooden pages.  After getting all the written work from my family I decided I needed more pages so I got a second book so there are eight pages, 2 each of the same pattern.

I used an airesol spray glue so that the paper would become part of the wood by sanding it.
I used my distress ink to go around the edges of the wooden pages as well as the front edges of the paper to give it that nice vintage aged look.  Here are some close up pictures of this. 


Notice the aging on the corner edges.  This paper originally looked like this picture below.


One of the most difficult things about this book is that it has the square openings.  This makes it beautiful and unique, however you have to be careful when placing things so that it doesn't show when you don't want it to, and also be able to incorporate what you want to show through, and also making it look nice on the actual page the embellishment is on.  Here is a sample of the window and the page behind it close up.

I also wanted everyone's name on their page so my mom would know which pages were written by which child.  It was also a bit challenging to take what they had written and make if fit on the page and not just look ordinary and one typed block in the middle but have a nice layout and incorporate their names as well.
Here are some pictures of the pages together.
Notice the orange ribbon.  This ribbon goes all the way around the page.  Here's a view from both sides.


May Arts has some awesome choices in burlap.  Check out the QW11 burlap loop I've used on these pages.  Plus guess how many other colors it comes in?  Ten colors!!!!  How cool is that?!

These two pages were things written by the grandkids.


This NK16 olive ribbon also goes all the way around on this page.  Below I have connected it to the bottom stanza.

Here I used some wooden tags for my name and the word mother.  I coverd them with paper, distress inked the edges and tied some lovely ribbon through the hole.
These family history stickers by Stamping Stantion were absolutely perfect here making it look like sillouhettes of my mom's seven children.
This rose turned out really cute using the EM32 gold net. I also used SM33-string burlap and threaded it through the 361-58-10 crochet.

This came together really nicely even though I'm a novice at page layouts.

Other products I used were from:
The Paper Loft,
The Paper Studio,
Petaloo,
and the Stamping Station.

May Arts ribbon used:
Sheer Wrinkled NK02,04,09,16,30,32,33
Silky Crush UK02,30,32,36
String Burlap SM14,16,33
EM16,32 Net


Thanks for joining me today!  I hope this gives you some good ispiration for some of your projects.  Don't forget we love to hear your comments!!!

Andrea 
Project made for http://www.mayarts.com/blog/

Friday, June 24, 2011

More Cuteness

These are my newest creations that will be sold on my website.
These hair bow holders have 3 ribbons 40 inches in length to help you organize all your hair pretties.

The Pink/Blue Elephant
 No more squished bows, and pairs can stay as pairs.

The Pink/Green Turtle


The Purple/Green Caterpillar

Glitter Tulle Bows


Miss Sailorette

Thursday, June 23, 2011

Lost Tooth Collage

  What fun this week is joining May Arts with Petaloo.  Have you ever had one of those ah-ha moments?  Well, I did the other day, and I'm going to share it with you.  My youngest lost her first tooth so of course we need to make some memories of it.  I love the versatility of art canvas, but I've never thought to turn it around and use the back side until the other day when I had some things laying around and set them in the back side of the canvas.  So, here we go. 
I got thinking about fairies since when you lose a tooth who else visits but the tooth fairy.  What could be better suited for this than Graphic 45's Once Upon a Spring Time collection with an assortment of fairies,   some delicious embellishments from the lovely Petaloo, and gorgeous May Arts ribbon.

Supplies used include:  10X20, 4X4, 4X5 art canvas, 5X5 wooden frame, small open square and circular frames, acrylic paint, fluid chalk, distress ink, glue, hooks, Petaloo embellishments, 
and May Arts Ribbon...
Q71 1.5", UK32 1.5", 389-18-46 1/8", 372-1-06 1"
 First I cut a fairy to fit in the frame.  I then used fluid chalk and distress ink to color my frame.
 Next, I tore some of the scrapbook paper and used the distress ink to age it some.  I tore it at an angle as you can see above.
 I painted my art canvas pieces and on the bigger one I used the distress ink again around the edges.  On the smaller two I used glitter spray mist over my paint.  For the wooden M, I used some brown fluid chalk and then used the glitter spray mist to coat over it.  I embellished with flowers and ribbon and glued every thing in place.

 Here are a few close up views.  It's a little hard to see but I trimmed the small oval and square frame with the 1/8" velvet ribbon.  I also put ribbon over the scrapbook paper, under the picture on the 4X5 canvas.
 A close up of the wooden M.  No paint, just fluid chalk and glitter spray mist.
I love how it turned out.  My thoughts are to possibly add wooden flowers underneath with pictures as she loses her other baby teeth.  We shall see.

I hope you enjoy this tutorial and it inspires you to think backwards at times!  Wink, wink!!

Ta-ta!  Andrea
Project made for http://www.mayarts.com/blog/

Tuesday, June 21, 2011

My Latest Hair Bow Design


This is my latest Hair Bow Design using May Arts 
ED10 1"Reversible polka dot ribbon
and 
Some really sparkly black tulle.
Check out the cuteness!!!  
 These will be sold on my website, along with some other gorgeous colors very soon.
I hope to see you back soon!!

The Bow Lady

Friday, June 10, 2011

As a Design Team member of May Arts, we had another blog exchange week with
 Creative Imaginations and May Arts?  These two companies make a great pair, if I do say so myself.
Check it out!
Growing up in a patriotic family, going to parades etc., and being a military wife, I have to admit I love all shades of Red, white and blue. 
I was more than excited when I received my box of Creative Imaginations goodies only to find that the papers and stickers were patriotic.  Yippee!!

I hope this project inspires you to get in the mood for Red, white and blue, Creative Imaginations ( which I know you all have, wink wink) and of course the LOVELY MAY ARTS!!
 Check out this classy ensemble of Creative Imaginations paper and stickers!  Oolala!!
 I've had these larger clothes pins, that I think are so cute and decided to make a miniature patriotic clothes line.  

I first made some adorable clothes by finding some free printable pictures on line.  I wanted them to look realistic.  Some of them I colored with water color pencils, the striped dress was a patterned piece of C.I.'s paper, and later will embellish them with some darling May Arts ribbon.
 I cut some of C.I.'s other patterned papers to fit my clothes pins and glued them on both the outside and the inside of the c.pin.

I then took some fluid chalk, ( love this stuff ) and went around the edges of the clothes pin and paper to give it a nice finished touch.  I also went over the bare wood which gave it a stained look.
 I used some mini-eyelet screws and then tied some May Arts  363-28 red twisted burlap for the clothes line.

I happen to have some mini, and I mean mini, clothes pins in red, and blue to hang the clothes with. 
 I used SM14 string burlap and stitched it with a needle on the top above.


 I used some word phrase stickers and added them to the C.I. stickers I received.
The other ribbons I used were:
AKB03 7/8" 
KB03 3/8"
RG33 3/16"
AF03 3/8"
NX01 3/8"

Thanks for joining me today!!
Ta-ta, Andrea.